So you just started playing with your amazing CHIP and you don't know how to connect your wifi network to it since there is no ethernet connector. Here is the first steps you should take, starting with :
Connect via USB
Using the screen command sudo screen /dev/ttyACM0 while the CHIP is connected to your computer via an USB cable. (install screen with sudo apt-get install screen if you don't have it)
It should ask you the default username (chip) and password (chip) of the CHIP.
Wouhou ! You made it to the CHIP's shell ! Now lets...
Setup Wifi
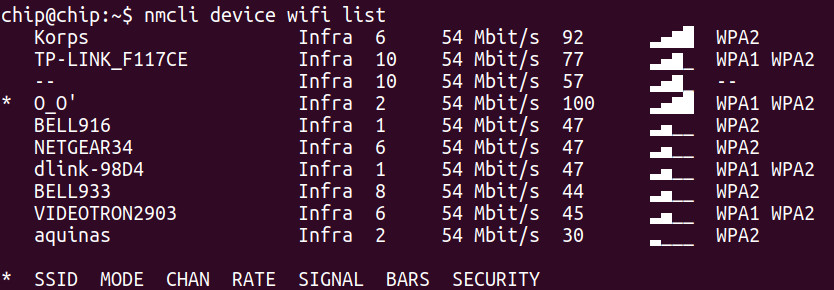
Using a tool called nmcli we'll be able to setup wifi via cli. Begin by listing wifi networks with nmcli device wifi list.

Then connect to your network via :
sudo nmcli d wifi connect 'YOUR_SSID' password 'YOUR_PASSWORD'
Note: if you have a single quote in your SSID like I shouldn't have... you can escape it like that $'O_O\'' in the previous command.
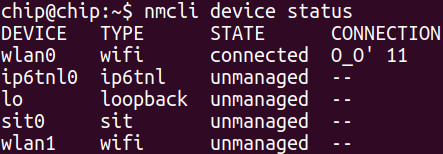
Now check if you are properly connected using : nmcli device status.

"connected", all good.
SSH login
Now lets quit this screen session and use ssh instead (because I personally had many display and data transfer glitches... it's very annoying.) But before, check what local IP address your CHIP has on your wifi network with ip -d addr | grep 192.168. Write that down or keep it in your mind. Mine is 192.168.1.102.
Then exit screen session with exit command, followed by CTRL + A + D.
Now login to your CHIP using it's IP address ssh chip@192.168.1.102 (same password as before : chip).
Setup locales (optional)
Locales don't seems to be configured by default, you can do so by doing sudo apt-get update && sudo apt-get install locales && sudo dpkg-reconfigure locales && sudo locale-gen and follow instructions on screen.
Conclusion
That's it ! Well done young padawan. Have fun with this beautifully designed mini-computer ! And tell me if it all went well in the comments bellow :)


